Before deploying any sf6 ckt breaker in your electrical network, thorough verification is essential to ensure operational safety, reliability, and compliance with industry standards. An installation process that skips verification steps exposes your infrastructure to potential failures, safety hazards, and costly downtime. This guide covers the critical procedures for verifying an sf6 circuit breaker before it enters service.
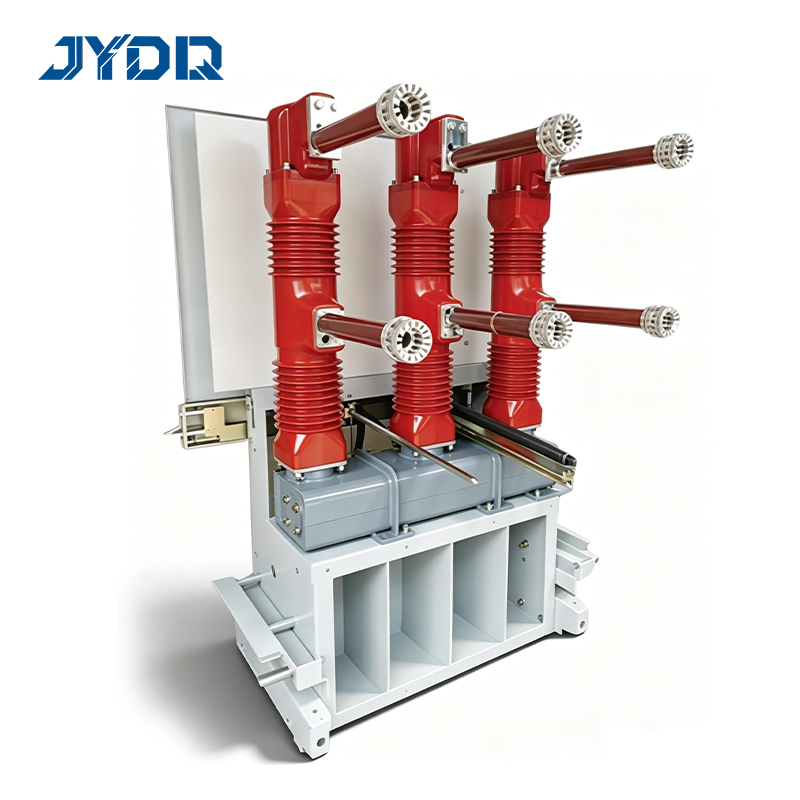
High-voltage circuit breakers operating with sulfur hexafluoride gas are precision instruments that require careful attention during every phase of deployment. The verification process protects your electrical system and ensures that the breaker will perform as designed under both normal and fault conditions. A comprehensive commissioning protocol reduces risk and maximizes equipment lifespan.
Understanding Verification Requirements for SF6 Circuit Breakers
Why Verification Matters Before Installation
An sf6 ckt breaker verification process serves multiple critical purposes in industrial and utility settings. Equipment that arrives at the site may have experienced transport damage, manufacturing defects, or storage degradation that are not immediately visible. Inspection protocols catch these issues before the breaker is integrated into the network, preventing catastrophic failures during operation. Verification also confirms that the breaker meets the electrical specifications required for your specific application, protecting both equipment and personnel.
Compliance and Safety Standards
All high-voltage breaker installation activities must comply with international standards such as IEC 62271-100 and IEEE C37.04. These standards mandate specific verification tests and documentation before a breaker can be commissioned into service. Regulatory bodies and insurance providers expect complete verification records as proof of due diligence. A formal commissioning checklist ensures alignment with these requirements and protects your organization from liability.
Pre-Installation Inspection Steps for SF6 Ckt Breakers
Visual and Physical Examination
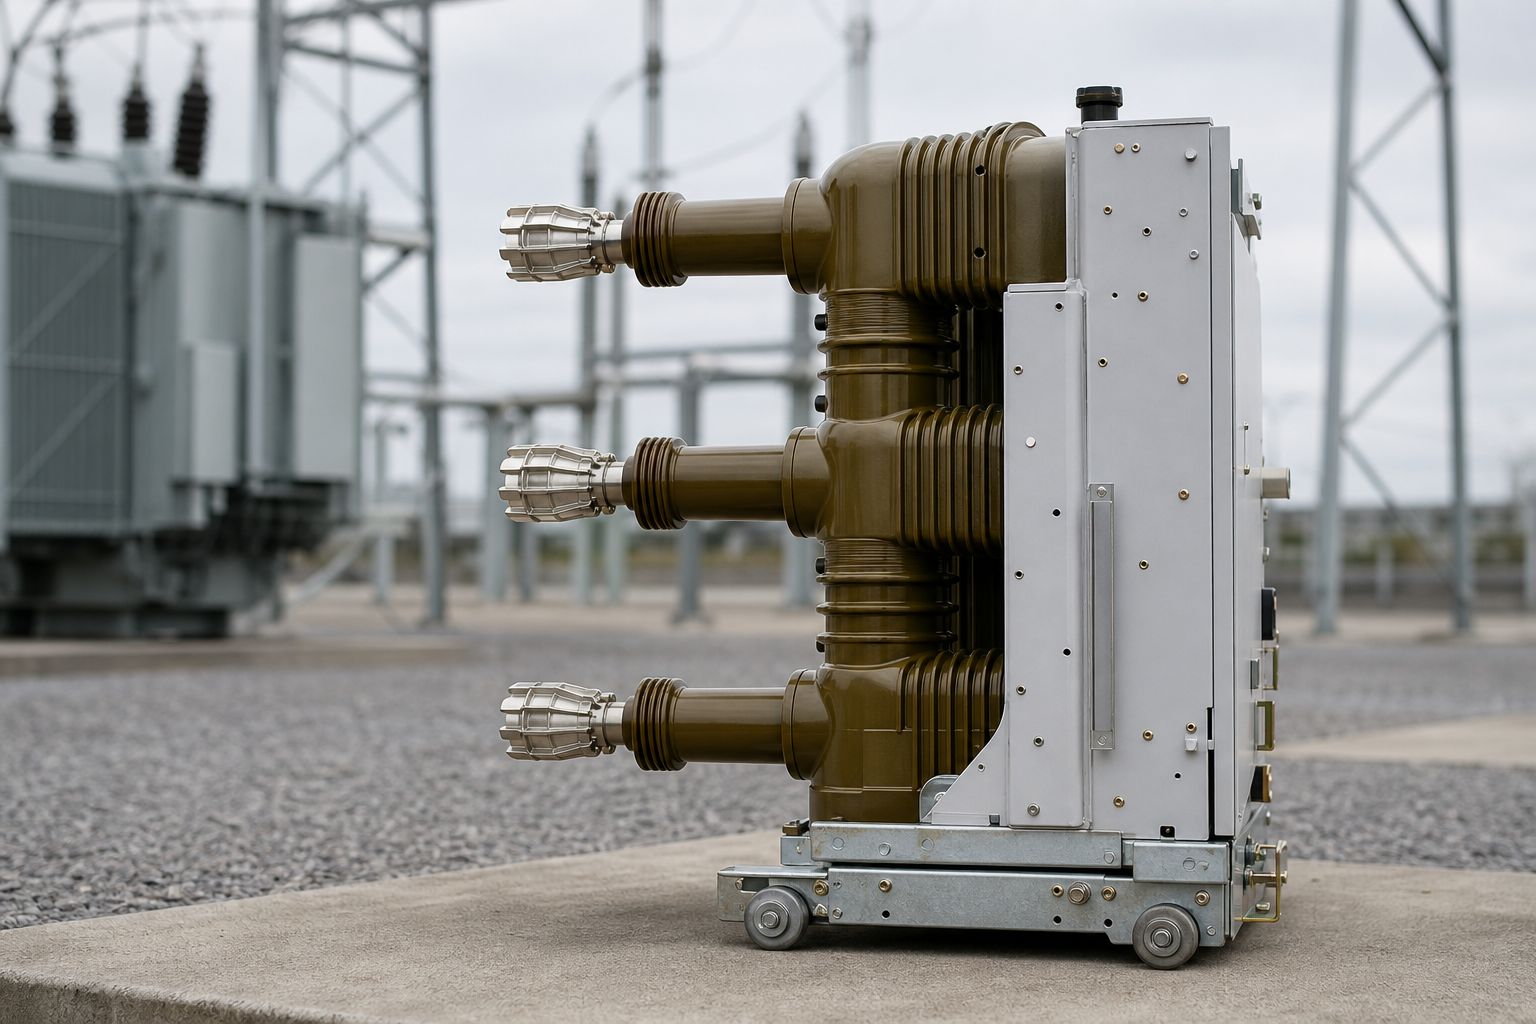
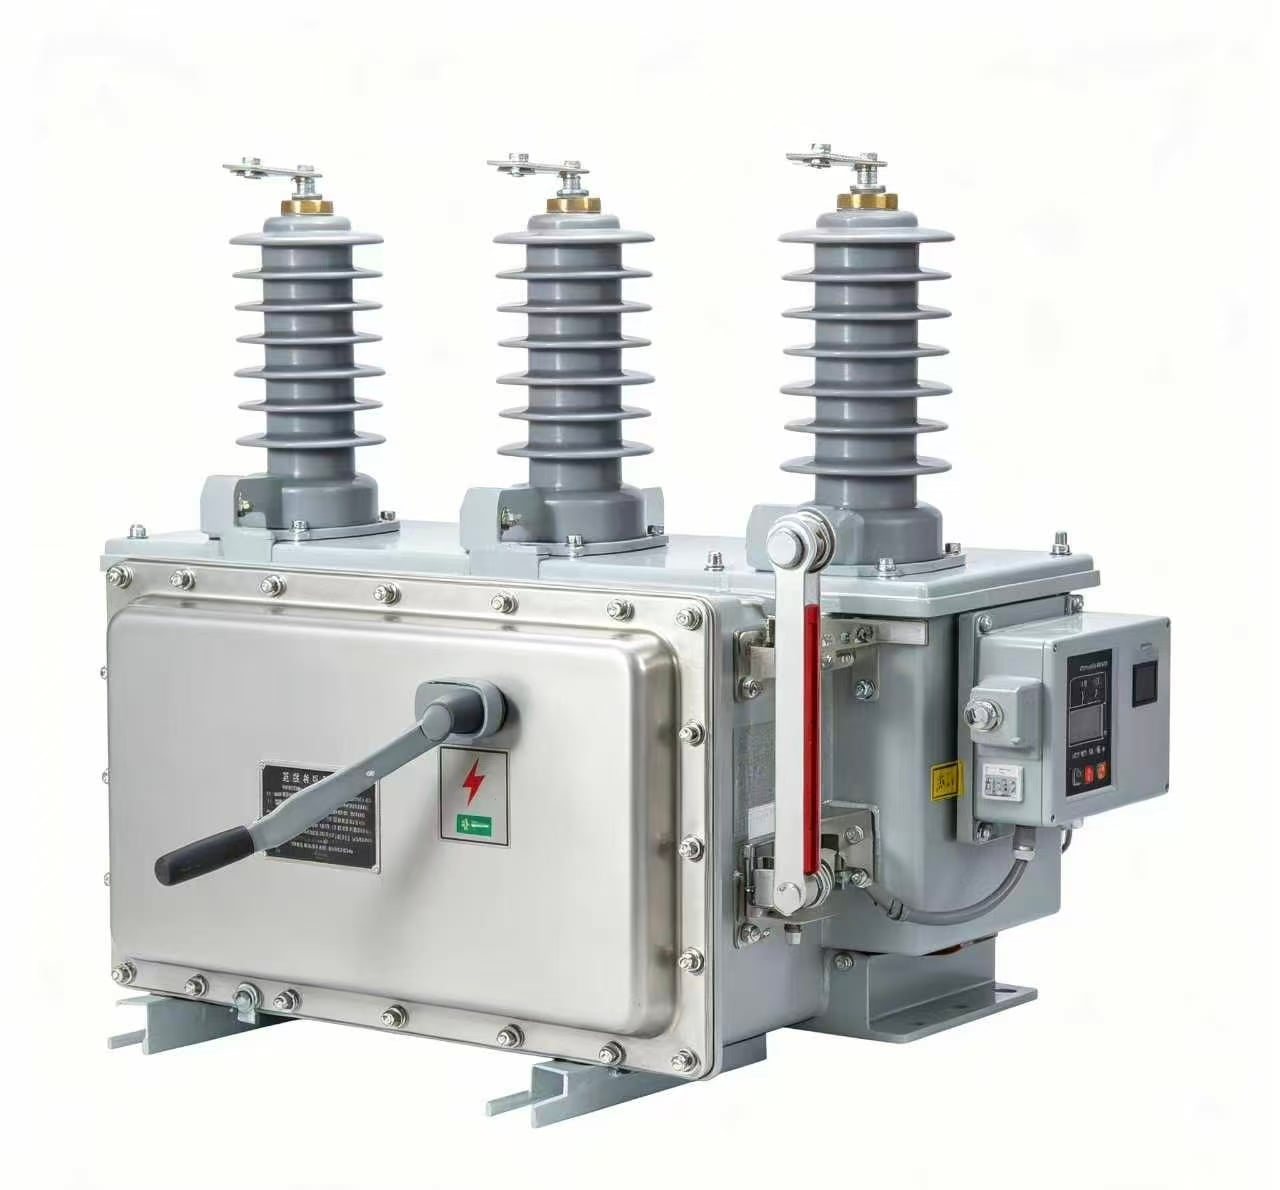
The first stage of inspection involves a comprehensive visual examination of the sf6 ckt breaker exterior and accessible components. Check for visible damage, dents, corrosion, loose fasteners, or shipping impact marks on the housing and connection terminals. Verify that the breaker serial number, voltage rating, and gas filling pressure markings match the purchase order and installation specifications. Examine the condition of gaskets, seals, and door hinges to ensure they have not been compromised during transit.
Mechanical Operating Function Testing
Before electrical testing begins, perform manual mechanical operation tests on the sf6 ckt breaker to verify that the operating mechanism functions smoothly. Manually trip and reset the breaker multiple times through its full stroke, observing for any unusual resistance, grinding noises, or binding that could indicate internal misalignment or contamination. Check that spring tension feels consistent and that latch mechanisms engage and release cleanly. These mechanical verification steps identify issues that might cause failure during actual electrical operation.
Electrical Testing and Commissioning Procedures
Dielectric Strength and SF6 Gas Quality Verification
One of the most critical aspects of sf6 ckt breaker commissioning is verifying the dielectric strength of the gas inside the breaker. Use a gas analyzer to measure the purity and density of the SF6 gas, as moisture, oxygen, or other contaminants can severely reduce insulating capability. Conduct dielectric breakdown tests (withstand voltage tests) at levels specified in the equipment documentation to confirm that the gas medium can safely insulate the breaker's internal components at rated voltage. Document all gas quality measurements and dielectric test results as part of your permanent commissioning records.
Contact Resistance and Continuity Testing
The sf6 ckt breaker's power contacts must be verified for proper electrical continuity and low resistance before installation into the network. Use a micro-ohmmeter to measure contact resistance in both the open and closed positions, comparing results to the manufacturer's baseline specifications. Excessively high contact resistance indicates contamination, oxidation, or manufacturing defects that could cause overheating during operation. Verify continuity through all main contacts, arcing contacts, and auxiliary switch positions to ensure complete electrical paths.
Insulation Resistance Measurement
Measure the insulation resistance of the sf6 ckt breaker's main dielectric system using a high-voltage megohmmeter at the voltage level recommended by the manufacturer. This test identifies moisture ingress, contamination, or internal tracking that could lead to insulation failure during operation. Record baseline insulation resistance values before commissioning for future trending and condition monitoring. Perform this measurement across all major insulation paths: phase-to-ground, phase-to-phase, and ground continuity circuits.
Final Verification and Documentation
Functional Performance Under Load
Before the sf6 ckt breaker enters permanent service, perform a final functional test that simulates the breaker's operating environment as closely as possible. Verify that trip settings, time delays, and protective relay coordination are correctly configured for your specific application. Test the breaker's response to both normal load switching and fault conditions (using simulation equipment rather than actual fault current). This operational verification ensures that the breaker will perform reliably when it matters most.
Maintenance Records and Commissioning Sign-Off
Establish and maintain comprehensive commissioning documentation for every sf6 ckt breaker installation. This record should include all inspection findings, dielectric tests, contact resistance measurements, insulation resistance baseline values, functional test results, and any corrective actions taken. Assign responsibility and obtain sign-off from qualified personnel who conducted the verification procedures. These records become the foundation for future maintenance decisions and provide evidence of compliance with industry standards and regulatory requirements.
FAQ
What if SF6 gas purity testing shows contamination levels above acceptable limits?
If the sf6 ckt breaker shows gas contamination during commissioning, do not proceed with installation. Contact the manufacturer or supplier immediately to arrange for gas purification or unit replacement. Contaminated SF6 reduces dielectric strength and increases failure risk. Some service providers offer on-site gas reclamation and purification services that can restore the breaker to acceptable condition without full replacement.
How often should verification tests be repeated during the commissioning process?
Standard commissioning practice calls for complete verification testing before initial installation, then again after any transport or storage delay exceeding 30 days. If the sf6 ckt breaker has been stored in high-humidity conditions or exposed to temperature extremes, repeat key tests like insulation resistance and gas analysis before proceeding. After the breaker is energized and operating, establish a periodic testing schedule (typically annual or every three years) to monitor ongoing condition and detect degradation early.
Can abbreviated verification procedures be used to speed up installation timelines?
Abbreviated inspection procedures are not recommended for high-voltage sf6 ckt breaker installation into critical infrastructure. Skipping dielectric strength, gas quality, or contact resistance testing creates unacceptable risk and violates industry standards. While commissioning procedures do require time, the cost of preventing a single catastrophic failure far exceeds the investment in thorough verification. Plan your project timeline to accommodate full verification without rushing safety-critical procedures.

 EN